Run any binary in a container like it exists on your computer
The second most important issue Docker has solved (the first one was a “works on my machine” problem) was the inability to run many binaries/libraries/packages of different versions side by side.
Containers come with isolation and running any amount of programs/application next to each other is no longer a problem.
It’s nothing new that you can run almost anything in a container — even Docker itself. If you’re interested you probably already run some of your applications in containers (like web servers, databases, etc.). But have you ever imagined to run your basic tools in containers too?
By basic tools we mean programs like htop, curl, telnet or mysql-client. The idea here is to be nice to your computer and not install “shit” on it.
Let’s take a look at an example.
We at Keboola, like Travis CI a lot. It helps us to test and build our software on a daily basis. Travis CI provides a command line client to its API (travis-cli). This client requires Ruby and here our story begins.
We don’t want to install travis-cli required libraries (Ruby and gems) on our computer. Instead, we want to use our computer as storage to provide volumes and keep our data persistent across multiple container runs.
So we create Dockerfile:
FROM ruby:2
RUN gem install travis -v 1.8.2 --no-rdoc --no-ri
ARG USER_NAME
ARG USER_UID
ARG USER_GID
RUN groupadd --gid $USER_GID $USER_NAME
RUN useradd --uid $USER_UID --gid $USER_GID $USER_NAME
ENTRYPOINT ["travis"]
It’s a bit unusual Dockerfile, since its build will create a new user and group. It’s because we want to run travis-cli on behalf of this user and don’t want to run into permissions issue (where a file created in a container is not accessible on a host). Actually, it will be the same user as the current user on our host system — because of build arguments.
docker build -t travis \
  --build-arg USER_UID=`id -u` \
  --build-arg USER_GID=`id -g` \
  --build-arg USER_NAME=`id -un` \  .
An ENTRYPOINT definition allows us to run this image as a binary.
$ docker run -i -t --rm travis
Usage: travis COMMAND ...
Available commands:
accounts       displays accounts and their subscription status
 branches       displays the most recent build for each branch
 cache          lists or deletes repository caches
 cancel         cancels a job or build
 console        interactive shell
 disable        disables a project
 enable         enables a project
...
The command line client stores its configuration to specific folder in your home directory (~/.travis). To make it available on the next run, we map a volume to it, so it will persist and keep our configuration (versions, login, repos).
$ docker run -i -t --rm \
  -v "/home/vlado/workspace/travis-cli/.travis:/home/`id -un`/.travis" \
  -u `id -u` \
  travis
Now we can log in.
$ docker run -i -t --rm \
  -v "/home/vlado/workspace/travis-cli/.travis:/home/`id -un`/.travis" \
  -u `id -u` \
  travis login
The last thing to do is create a simple bash script (travis.sh) which executes the docker run command for us.#!/bin/bash
#!/bin/bash

docker run -i -t --rm \
  -v "/home/vlado/workspace/travis-cli/.travis:/home/`id -un`/.travis" \
  -v "$PWD:$PWD" \
  -w $PWD \
  -u `id -u` \
  travis "$@"
Where:
- first volume is mounted to persist our configuration
- second volume is mounted to make sure our current directory also exist in the container
- working directory is set to the current directory (we’ll be at same path in the container)
- user is set to the current uid (id -u), and
- all arguments passed to our script are forwarded to the docker run command using “$@”
Then we make the script executable and create a symbolic link to it.
chmod +x ~/workspace/travis-cli/travis.sh \
  && cd /usr/local/bin \
  && sudo ln -s ~/workspace/travis-cli/travis.sh ./travis
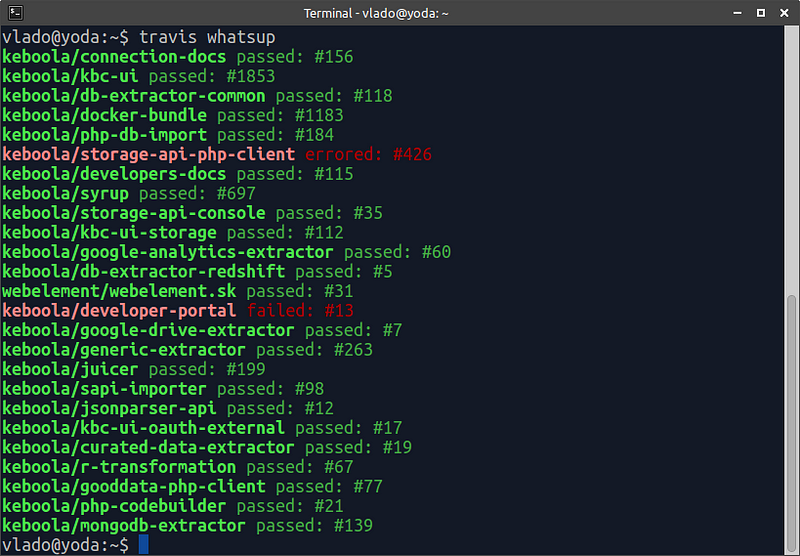
Now we can check if it’s working as it’s supposed to by running a “whatsup” command.

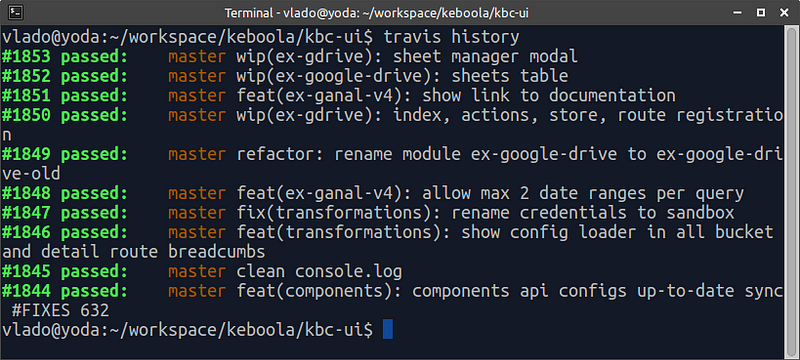
And also some other commands to check if volumes work and if we get info from .travis.yml file located in the project directory.

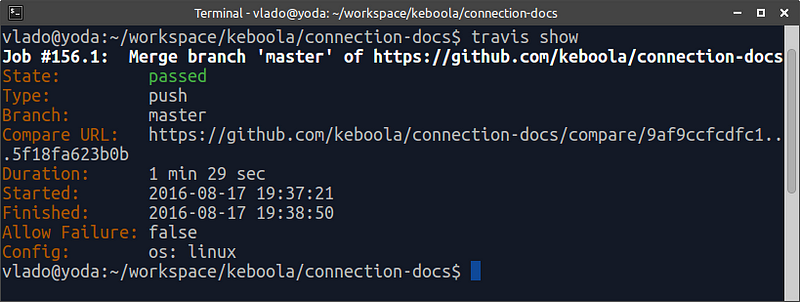
And again, to be really sure.

Voila!
From now on, we can run travis-cli without the need to install anything locally.


