Kubernetes Upgrade Strategies
Upgrading Kubernetes? Here’s how to choose the right path, slash downtime, and ship a seamless transition.
Having worked in fully managed cloud environments, I’ve become pretty spoiled by how little ops are required to run, for example, a PostgreSQL or MySQL database. These services are refined, secured, easy to use out of the box and the cloud vendor usually guides you gently through the version lifecycle with plenty of time to prepare for upgrades.
Upgrading Kubernetes can be challenging, but there are multiple strategies to make the process smooth and safe. In this write-up, I’ll explore how to choose the right upgrade path for your infrastructure and workloads — and share practical tips to minimize downtime, avoid risk, and ensure a seamless transition.
Release Cycle
Kubernetes has a new minor version 3 times a year (https://kubernetes.io/releases). With each new release, you already know when it will reach its EOL — usually about one year after release.
New Kubernetes versions are then adopted into managed offerings of cloud vendors with a slight delay, each at their own pace.
We have to track the GA and EOL dates manually for each cloud vendor we're using so we can schedule the upgrade properly.

As of September 2025, version 1.34 has already been out for a month, but AWS is lagging behind. GCP has a "nice" feature — auto-upgrade. You can’t really opt out of auto-upgrades — and the provider upgrades the cluster on your behalf. We need to monitor this date and manually perform our upgrade before auto-upgrade happens — especially for production workloads.
Strategy 1: No upgrade
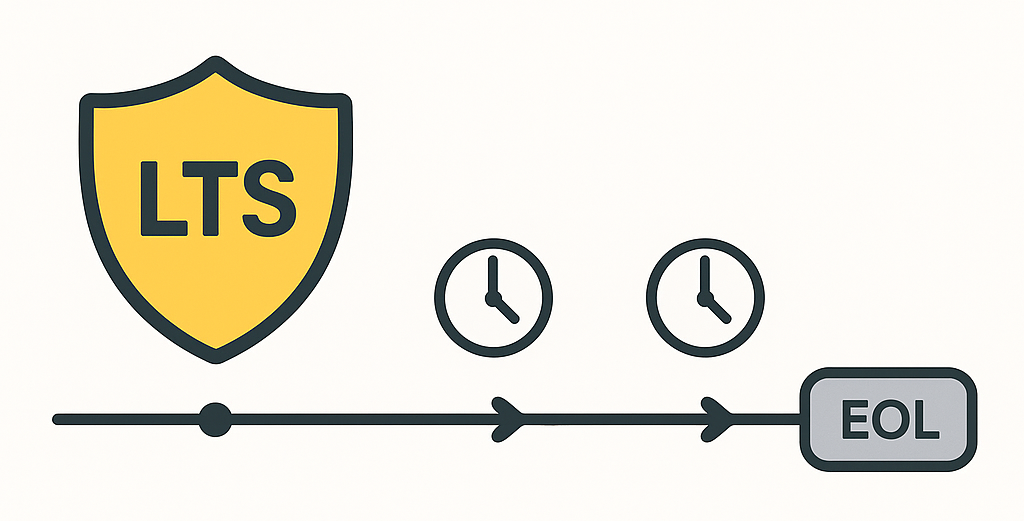
This isn’t a joke — it’s a perfectly viable strategy. Who wants to plan and execute an upgrade every 4 months? You can choose a long-term support (LTS) version, if your cloud vendor offers one. It usually costs some money but some LTS versions can last up to 10 years.
“If you’re already a few versions behind, this may be a good option, since Kubernetes only supports upgrading one minor version at a time. Upgrading from 1.30 to 1.33 requires three separate upgrades, not one. You may as well save time doing these upgrades and pay for LTS.
LTS usually extends the supported period by one year (AWS, Azure).
What do you do when your LTS expires? If you’re thinking that far ahead, note that Canonical offers a Kubernetes LTS with 12-year support (https://canonical.com/blog/12-year-lts-for-kubernetes)!
Pros
- Predictability: No frequent disruptions from upgrades.
- Vendor support guarantees: Security patches and fixes provided during LTS window.
- Operational simplicity: Minimal engineering time spent on upgrades.
Cons
- Technical debt accumulation: Skipping upgrades means facing a big “cliff” later.
- Feature lag: No access to newer Kubernetes features/APIs.
- Vendor lock-in risk: You’re at the mercy of the vendor’s LTS policy and timelines.
Best for
- Regulated environments
- No operations capacity at the moment
- No plans for long term usage of the cluster
Planning the upgrade
So you really want to upgrade. What to do to avoid any unnecessary surprises?
- Turn off automatic upgrades
I recommend always keeping full control of the upgrade process — and if you want automation, make sure it runs on your terms. If you feel confident, you might consider enabling auto-upgrades for patch versions; some cloud vendors do offer that. - Release notes
Kubernetes release notes, cloud vendor managed service release notes. It's a lot of reading. - Use
kubectl deprecations(or pluto, kubent, and others)
This simple command will show you what is being deprecated, deleted, etc.
kubectl deprecations --k8s-version release-1.32
RESULTS:
Deprecated APIs:
ComponentStatus found in /v1
  ├─ ComponentStatus (and ComponentStatusList) holds the cluster validation info. Deprecated: This API is deprecated in v1.19+
  -> GLOBAL: controller-manager
  -> GLOBAL: scheduler
  -> GLOBAL: etcd-1
-> GLOBAL: etcd-0- Upgrade workload in advance
Keep track of the versions of all workloads you’re running, and check their compatibility with both your current Kubernetes version and the target version. It can be a network plugin, stateful database or a cloud vendor's addon. Almost all components you add to Kubernetes have a documented support matrix and can run on multiple versions simultaneously. You can upgrade the workload to a version that supports both your current version and your target version.

- Prepare your workload for disruptions
Is it your application or a third party service? You need to know how it (your app or the service) responds to disruptions like node drains, reduced replicas etc.; Have your PDBs in place, test disruptions and choose the correct upgrade strategy. - Application tests
Have tests ready. Our process: upgrade in multiple dedicated testing environments for each cloud vendor, run all test suites there, then proceed to upgrade production workloads You may need to supply missing end-to-end/integration/smoke tests. - Monitoring
If something goes wrong during an upgrade, you need to detect it quickly to minimize impact. - Prepare for rollback
If your production environment upgrade unexpectedly fails, be prepared with a rollback. - Cluster/upgrade configuration
You can tailor some cluster/upgrade configuration to help with. You can set up auto-scaling to spin up new nodes for evicted workload or you can reconfigure drain timeouts to match the needs of your workload. - Create a runbook
You’re not doing this for the last time. Document all your efforts, create a detailed step-by-step runbook that you can reuse next time. Also you can hand over the runbook to someone else and do something nice instead. - Plan the next upgrade immediately
Chances are that when you finish your upgrade, the next version is released or at least announced. Plan the next upgrade immediately, don't fall behind.
Strategy 2: In-place
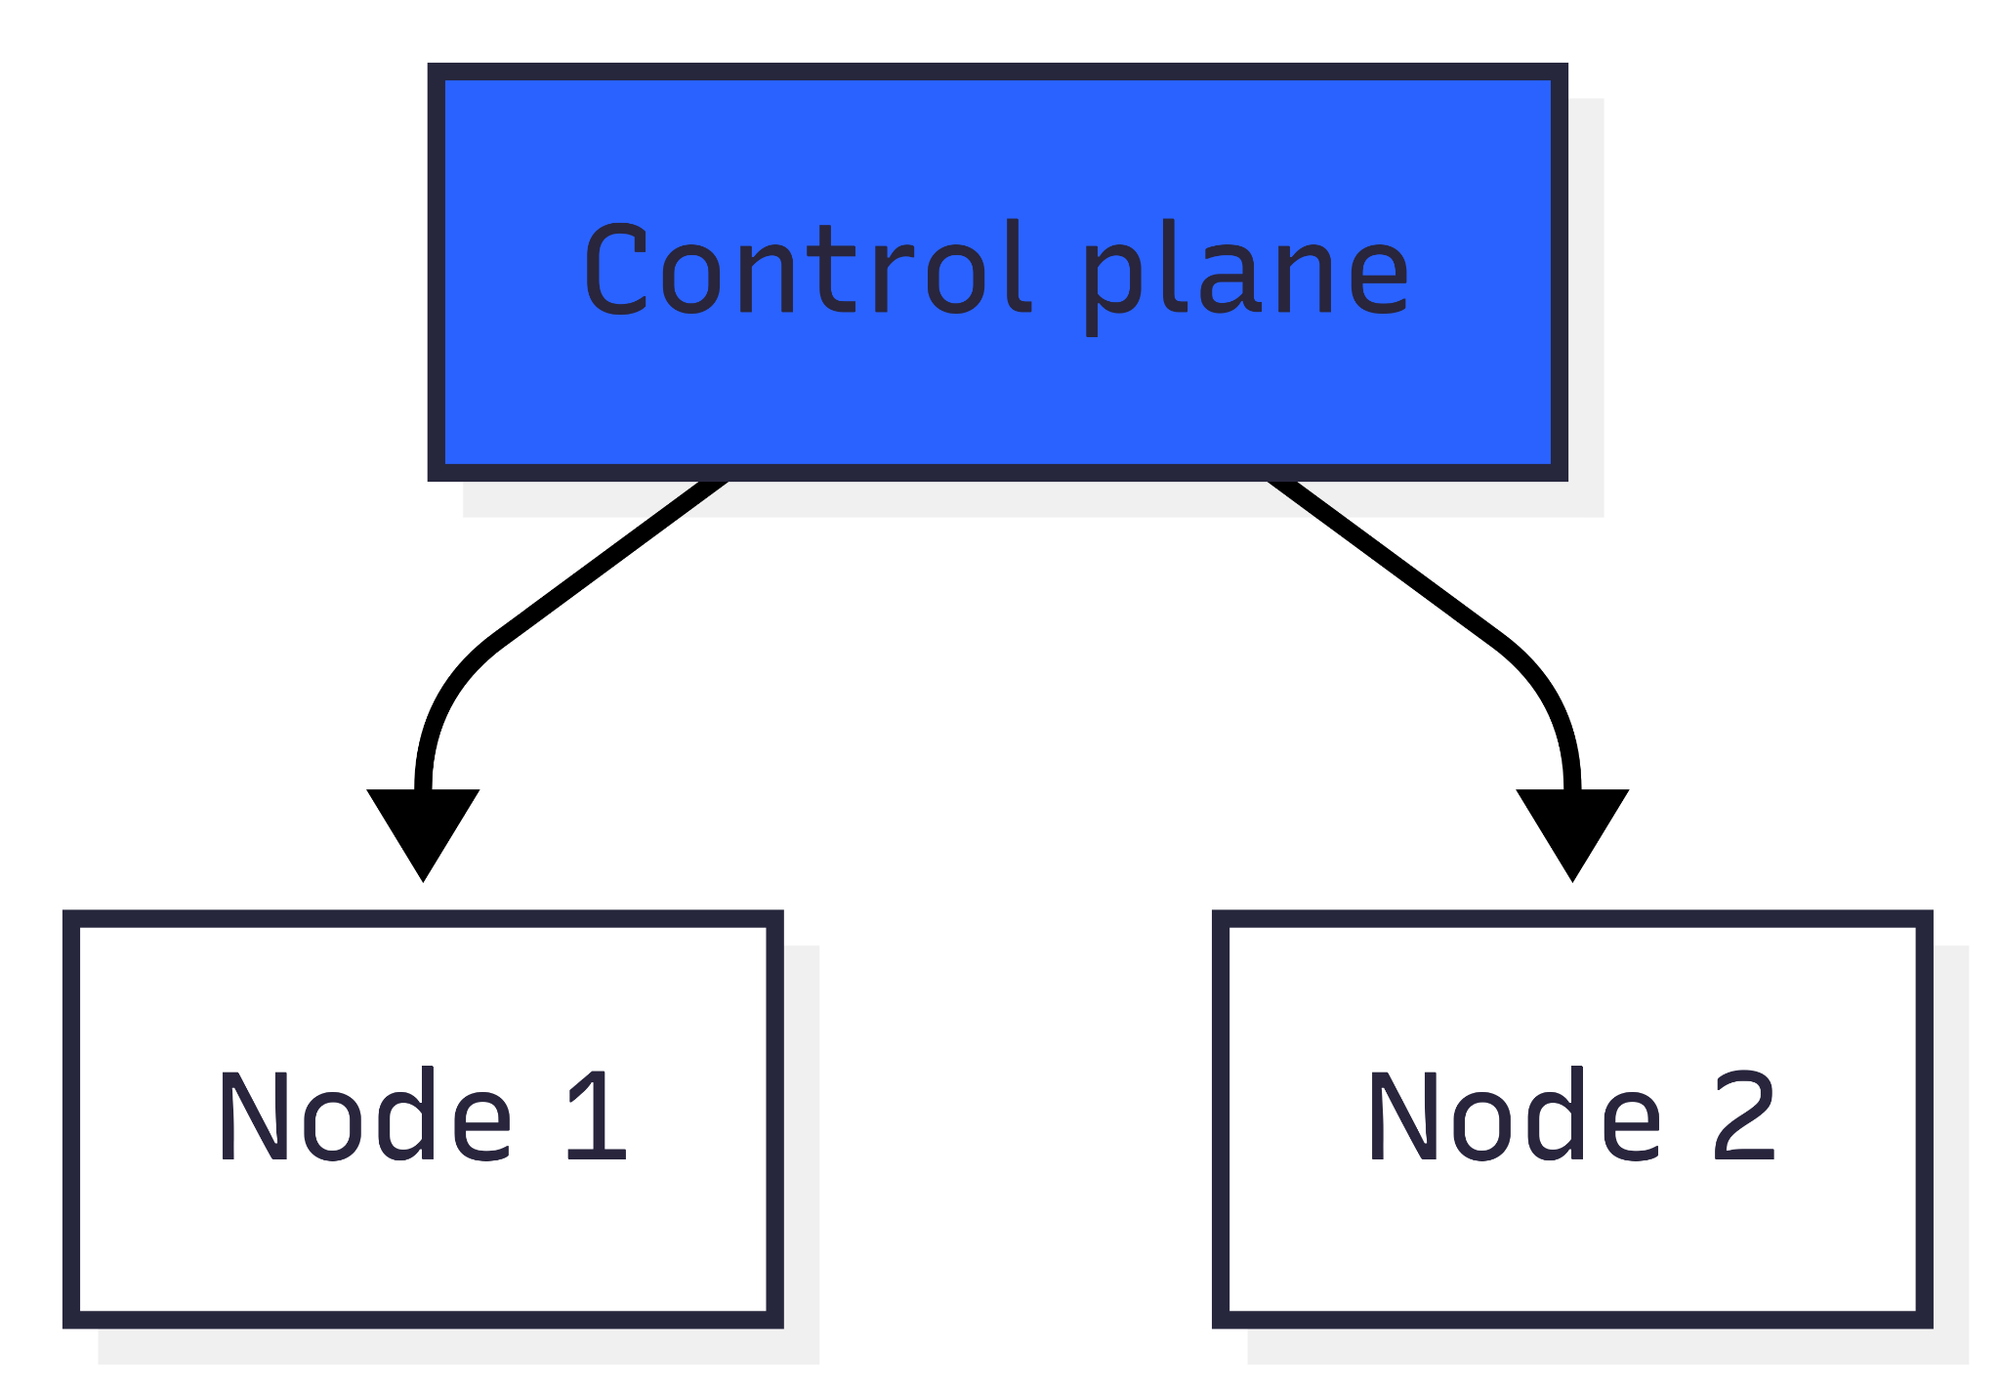
This is the simplest method. You upgrade the control plane and all the nodes at the same time. If you’ve done your research and your workload allows it, you may simply bump the version in Terraform or click a button in the UI and let the system take care of the upgrade. And you hope after a while you get a green light from your cloud vendor.
Pros
- Simplicity: One-click / single Terraform change.
- Speed: Entire cluster upgraded in one go.
Cons
- Risk concentration: If something breaks, the whole cluster is affected.
- Rollback pain: Harder to roll back without restoring from backups.
- Downtime possible: Short outages during upgrade (control plane restart, node restarts).
Best for
- Resilient and predictable workload (i. e. most apps).
- Non-production environments: Quick way to keep test/dev environments current.
Strategy 3: Blue/green
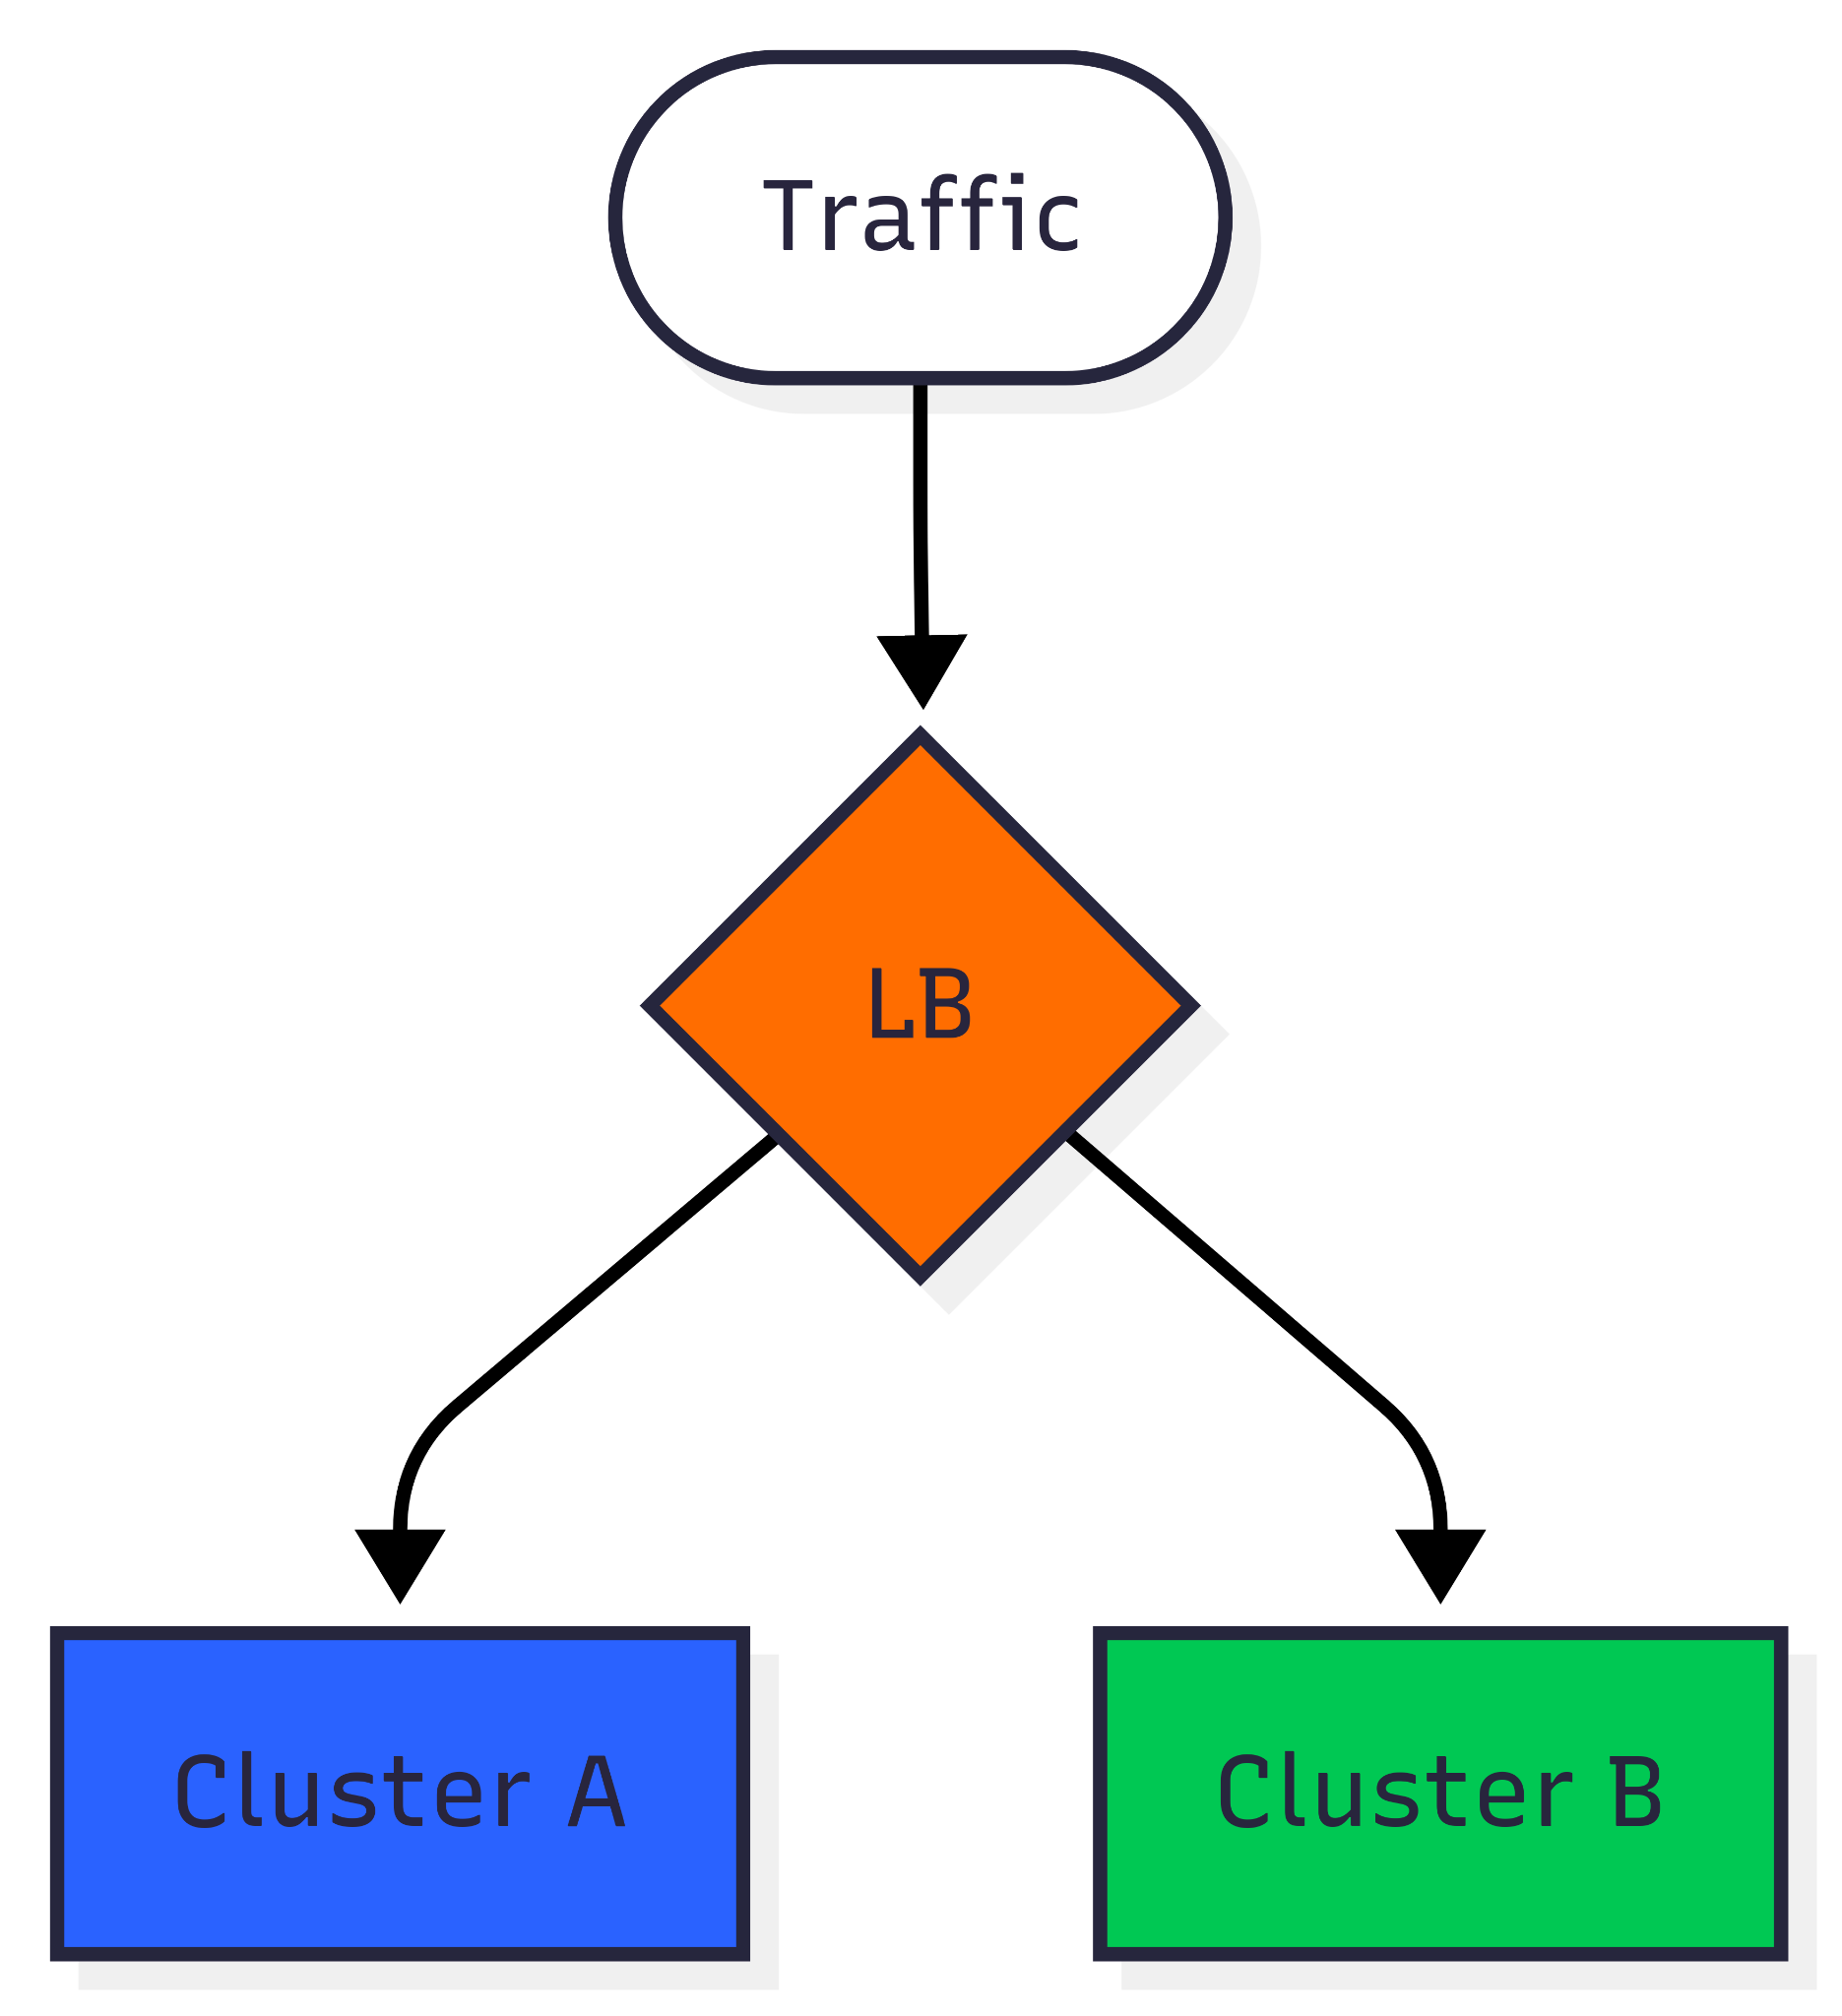
You can spin up a new cluster (and possibly other resources) and slowly redirect traffic from one cluster to another. This sounds fairly easy; however, it comes with a few caveats. What happens to stateful workloads/persistent volumes? They are not possible to move gradually. What about stateful workloads or persistent volumes? You often can’t move them gradually. For clusters with etcd, ElasticSearch, etc., you might need live replication (if that’s even possible).
Pros
- Safe rollback: Just redirect traffic back to the old cluster.
- Testing flexibility: New version can be validated with production-like workloads before cutover.
- Zero-downtime potential: Especially for stateless services.
Cons
- High cost: Requires doubling cluster resources temporarily.
- Stateful challenges: Persistent volumes and databases are hard to replicate.
- Cutover complexity: DNS, load balancer, or service mesh must be carefully handled.
Best for
- Progressive and controlled release
- Critical uptime
The problem
None of the existing strategies are suitable for our clusters and workloads. A few examples:
- LTS
- Our compliance requirements force us to upgrade.
- We have many small clusters and extended support would get very expensive.
- Our clusters tend to live a long time.
- In-place
- This is too disruptive for our custom workload. A big part of our workload has no replication and cannot be transferred to another node or paused/resumed (e.g. JupyterLab notebooks that end-users are working in, or data copy jobs).
- We’ve had too many failures during Azure upgrades (drain timeouts), and reconciling clusters afterwards is a pain.
- Blue/green
- In Azure, we link private endpoints from the Application Gateway (the load balancer in front of Kubernetes) into the customer’s network.
- We use some stateful services running inside the cluster (e.g. Elasticsearch, etcd), and we haven't adopted live replication.
- We don’t really need gradual traffic switching — we already have enough testing environments and test coverage to be confident in the upgrade.
- Some persistent workloads also cannot be switched using DNS.
- The price is too steep.
So we had to come up with a custom solution.
Strategy 4: Incremental
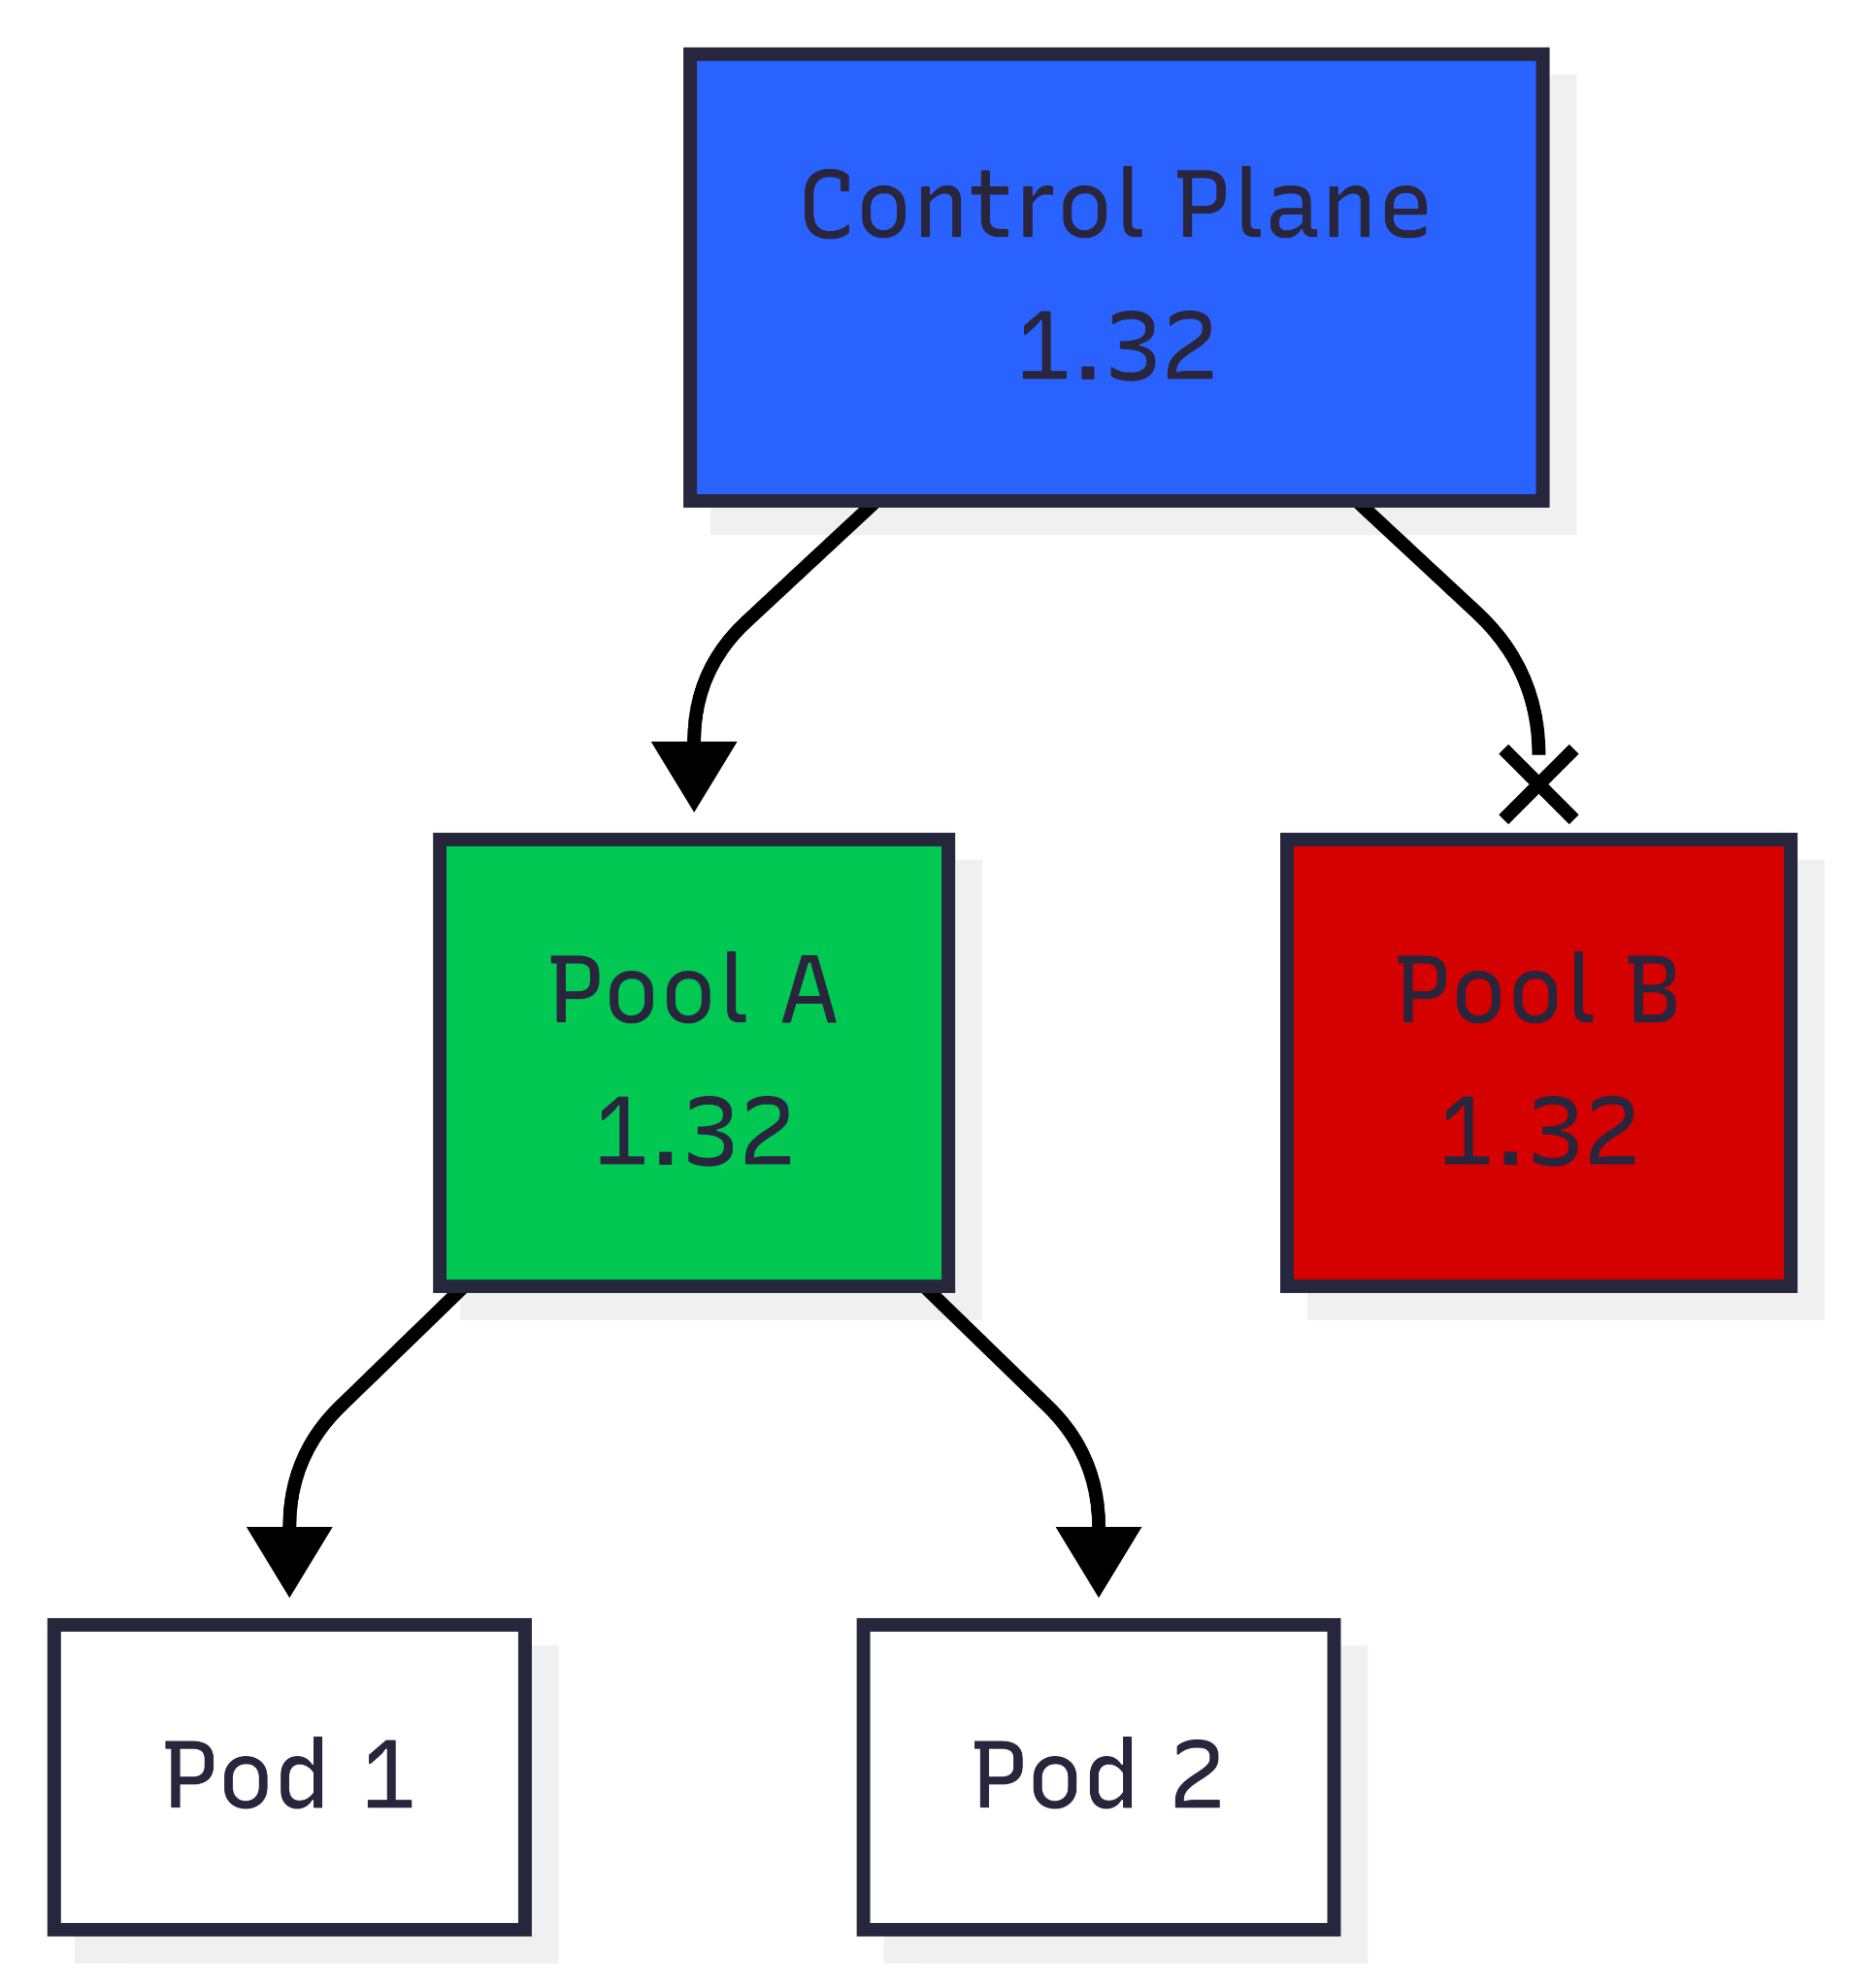
This has been the winning strategy for us. Combines a bit of control and ease of use. We split the upgrade in two main tracks.
The control plane can be upgraded in place. Since it’s managed by our cloud vendor, there’s not much to worry about. We typically use Terraform to upgrade the control plane and then proceed to upgrading the nodes.
Data plane (nodes) can be upgraded separately from the control plane. Also, nodes can be grouped into node pools, and workloads distributed between pools using rules such as nodeSelector. We can then upgrade each node pool to best match the running workload.
Once the control plane is upgraded to the new version we can start upgrading node pools. We spin up new node pools (pool B) running the target Kubernetes/kubelet version. For old node pools (pool A), we can either
- drain them immediately (mimicking an in-place upgrade),
- or cordon them, the old workload is left to expire naturally (suitable for all kinds of jobs)
If neither of these two options suits you, you can implement custom workload relocation strategies — you have all the tools you need at hand. All you need is access to the Kubernetes API, and you can easily move workloads using your own custom rules.
In our case, Terraform can take care of
- upgrading the control plane,
- spinning up new upgraded node pools,
- and removing old node pools.
For draining we use a simple shell script, essentially kubectl cordon and kubectl drain with a few label selectors. This is easy enough to put into a pipeline and run alongside Terraform pull requests.
However some details vary between cloud vendors and e.g. in Azure a shell script with all business logic orchestrates both control plane and node pools upgrades.
Pros
- Balanced approach: Safer than in-place, cheaper than blue/green.
- Granularity: You can upgrade workloads pool by pool.
- Custom flexibility: Teams can mix cordon-and-drain with gradual migration.
Cons
- Operational overhead: Requires managing multiple node pools simultaneously.
- Migration strategy needed: Stateful workloads still need careful handling.
- Rollback limited: Not as instant as blue/green; old pools may already be drained.
Best for
- Critical outages are rare and can be handled
- Tricky workloads
Comparison
Here's a brief rundown.
| Criteria | LTS | In-place | Blue/green | Incremental |
| Speed of Upgrade | N/A | Very fast | Slow | Medium |
| Rollback Complexity | N/A | High | Low | Medium |
| Operational Complexity | None | Low | High | Medium |
| Resource Cost / Overhead | None | Low | High | Medium |
| Stateful Workload Support | Yes | Yes | Tricky | Yes |
| Downtime Risk | None | Low | Minimal | Minimal |
| Supports Tricky Workload | Yes | No | No | Yes |
Conclusion
At the end of the day, upgrading Kubernetes in a managed environment is less about chasing the “perfect” strategy, and more about knowing your trade-offs. Every option comes with its own cost in complexity, downtime risk, and effort. What really makes the difference is preparation: read the release notes; test outside production; have a rollback plan ready; and maintain up-to-date monitoring. Do that, and whichever path you pick — LTS, blue-green, or upgrading via new node pools — you’ll avoid nasty surprises and keep your clusters healthy.